Using Patching & visible mending to repair your clothes
Patching is one of the simplest ways to mend your clothes. It can be used on worn down areas that might appear in between your trouser legs, ripped knees on jeans or on a torn shirt.
This guide shows you a simple form of patching inspired by the Japanese art of ‘Boro’.
Boro and Sashiko
Boro is the craft of repairing and reworking textiles through patching and stitching. Traditionally, Sashiko, a running stitch, would be used to bind the ripped fabric together.
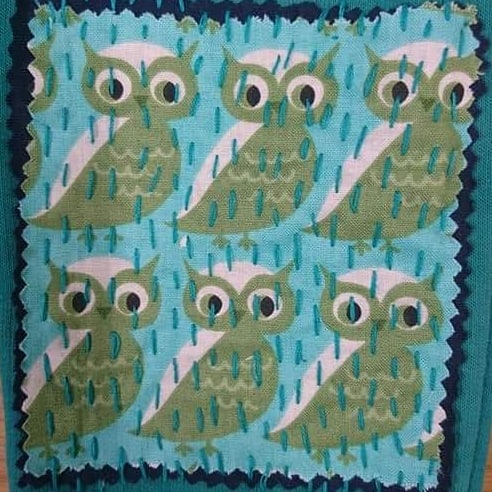
Classic Sashiko and Boro uses Indigo-dyed fabric as a base with a white cotton thread running through it.
Modern versions of the technique use the same stitching and layering, but with different colours of fabrics and threads.

Patching Clothes
Choose your fabric patch to cover the area. We have a lot of scrap fabric to choose from at our sessions. So take a look at your fabric scraps.
The patch can be placed over or under the hole depending on what result you are looking for. If you put a patch under, the rip is still visible or the patch placed on top so the hole is hidden under the patch.
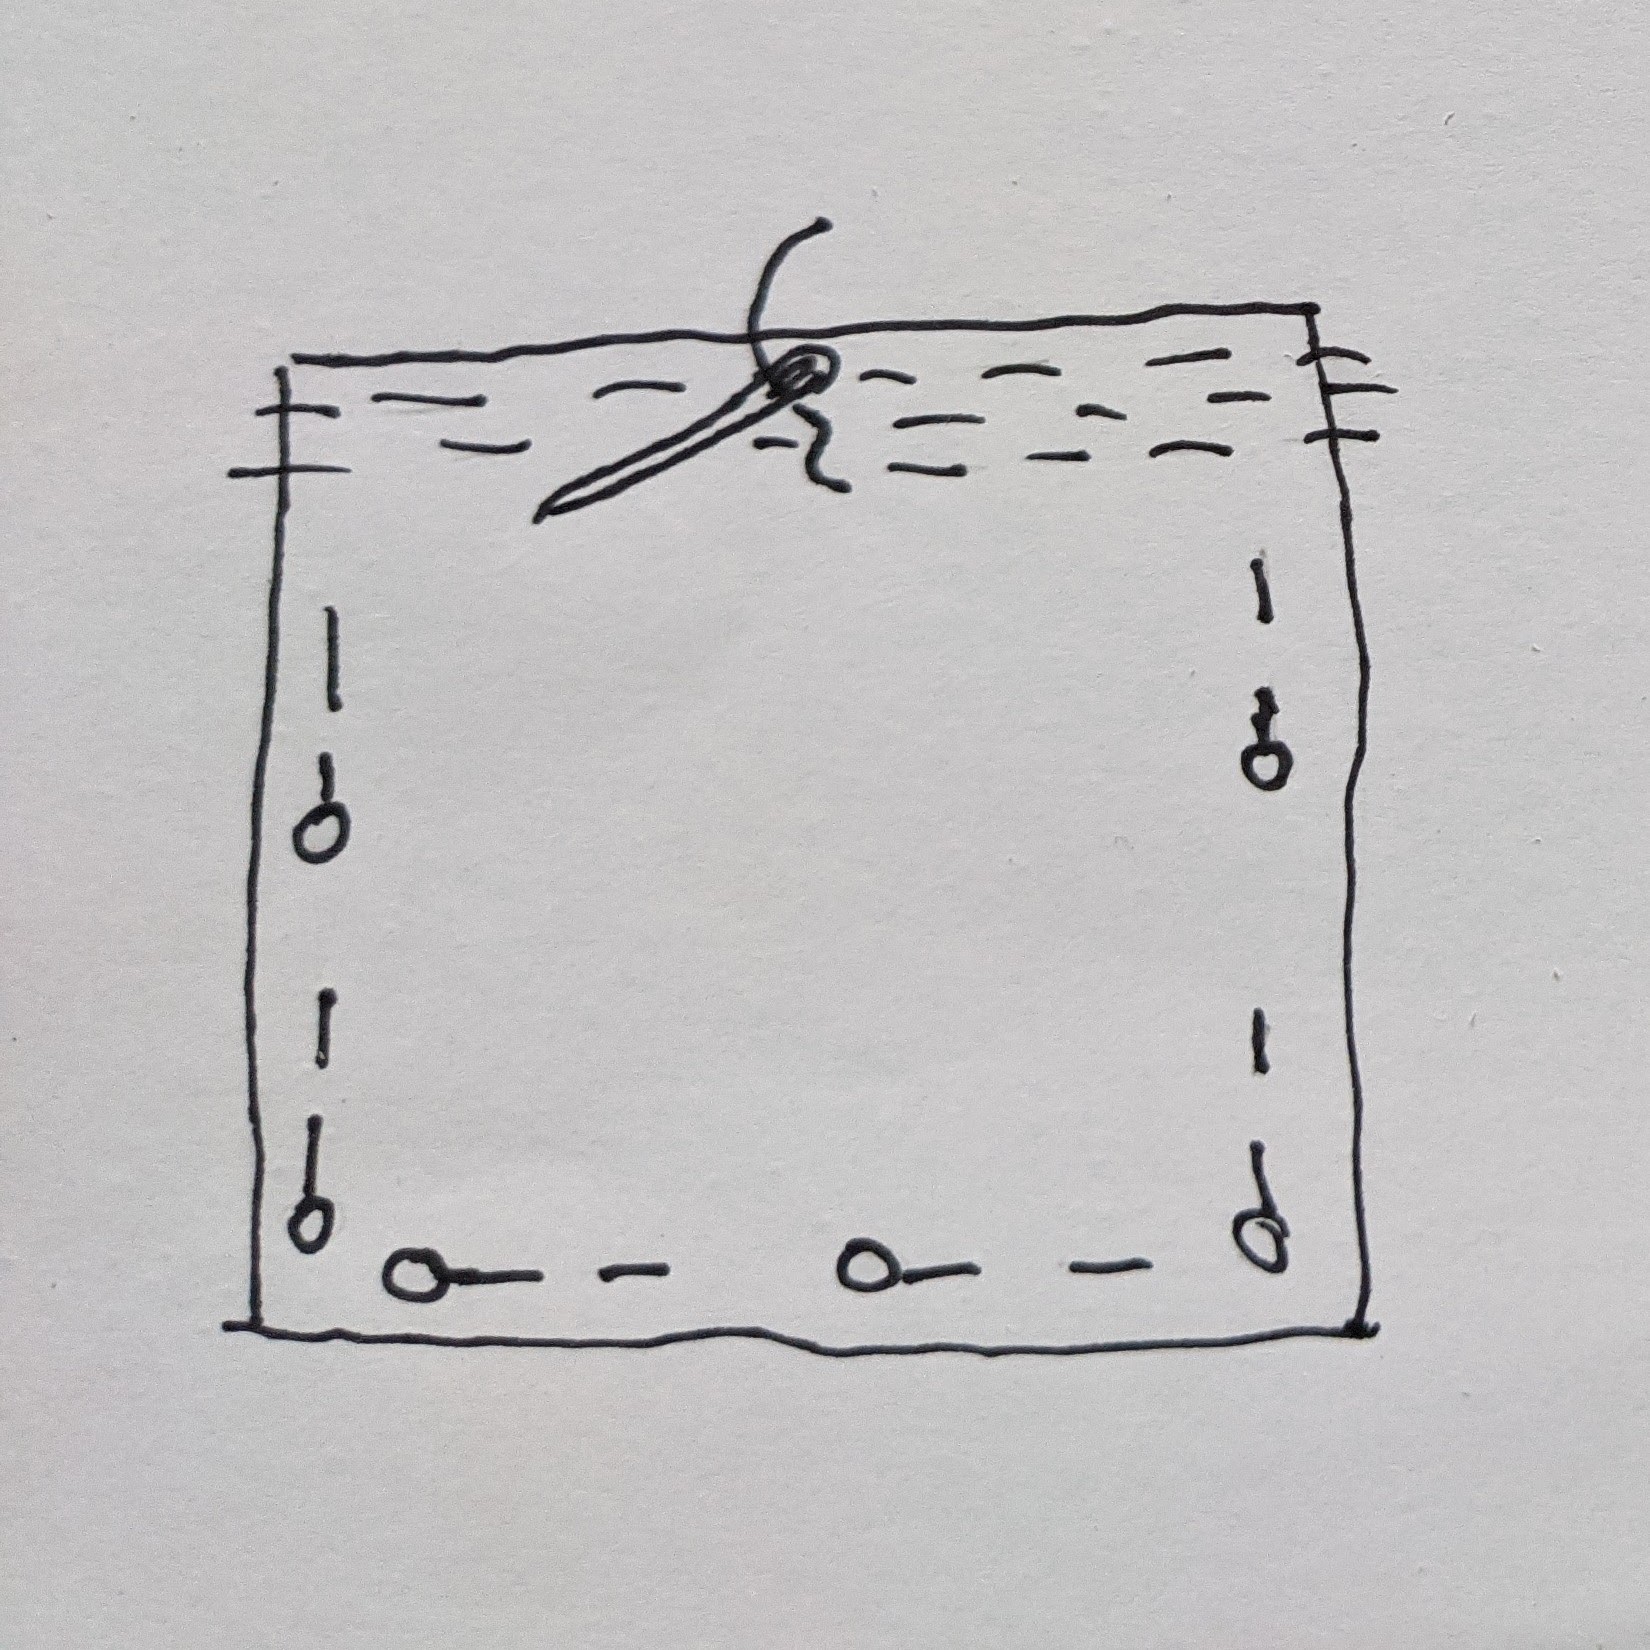
There are few options on how to secure the patch in place temporarily while you are sewing it in place. You can use fabric or safety pins to secure edges and keep the patch flat. You could also use a contrasting thread to tack the patch in place. The use of a glue stick to temporarily secure the patch in place also might help, while you sew it in place. The glue will wash away after.
Thread your needle with a length of thread about 30-40cm long, either add a knot at the opposite end to the needle or do two short stitches over each other to secure the thread to patch. Then you can start stitching to secure the patch in place. Here is how to use running stitch or seed stitch.
Our most popular patched item is Jeans and holes in knees. We have a blog on with advice and tips in Mends for Jeans and Mending pile: All about knees.
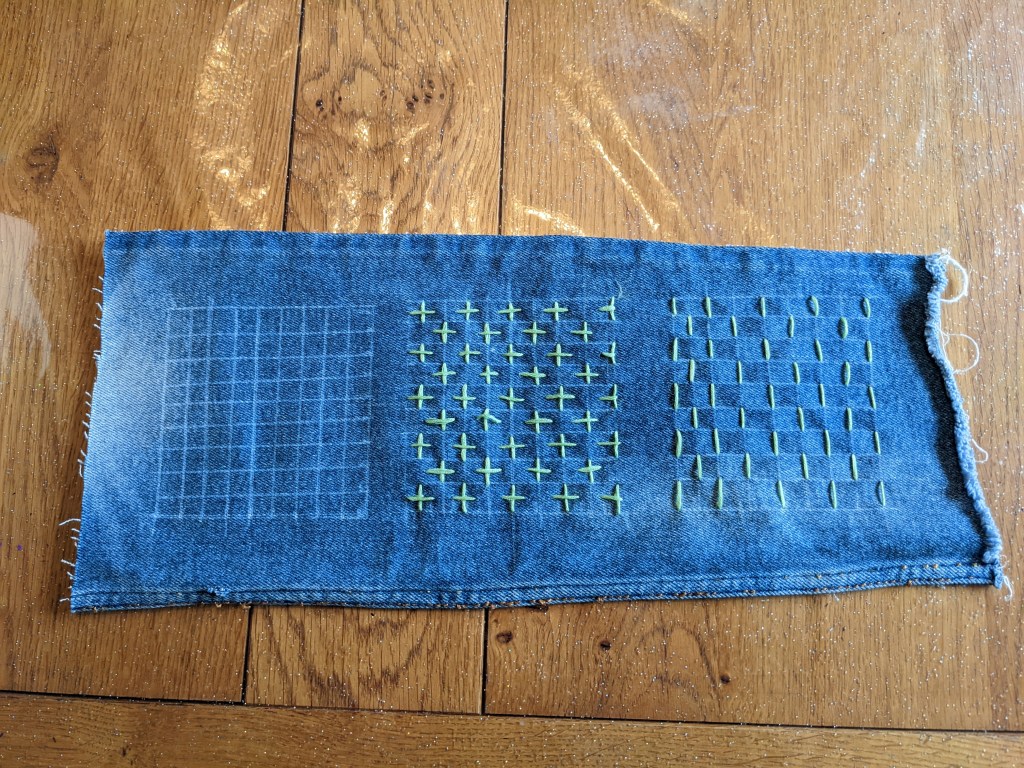
Using Running stitch to patch
For running stitch, bring your needle up from the reverse of the fabric, going over the edge of the patch with your first stitch. Bring the needle in and out of the fabric creating a line of stitches. This is popular in Sashiko and the simplest stitch.
You can draw a grid as a guide for the stitches essential if you want the stitches are consistent. You can go without a grid and so it is done by eye.
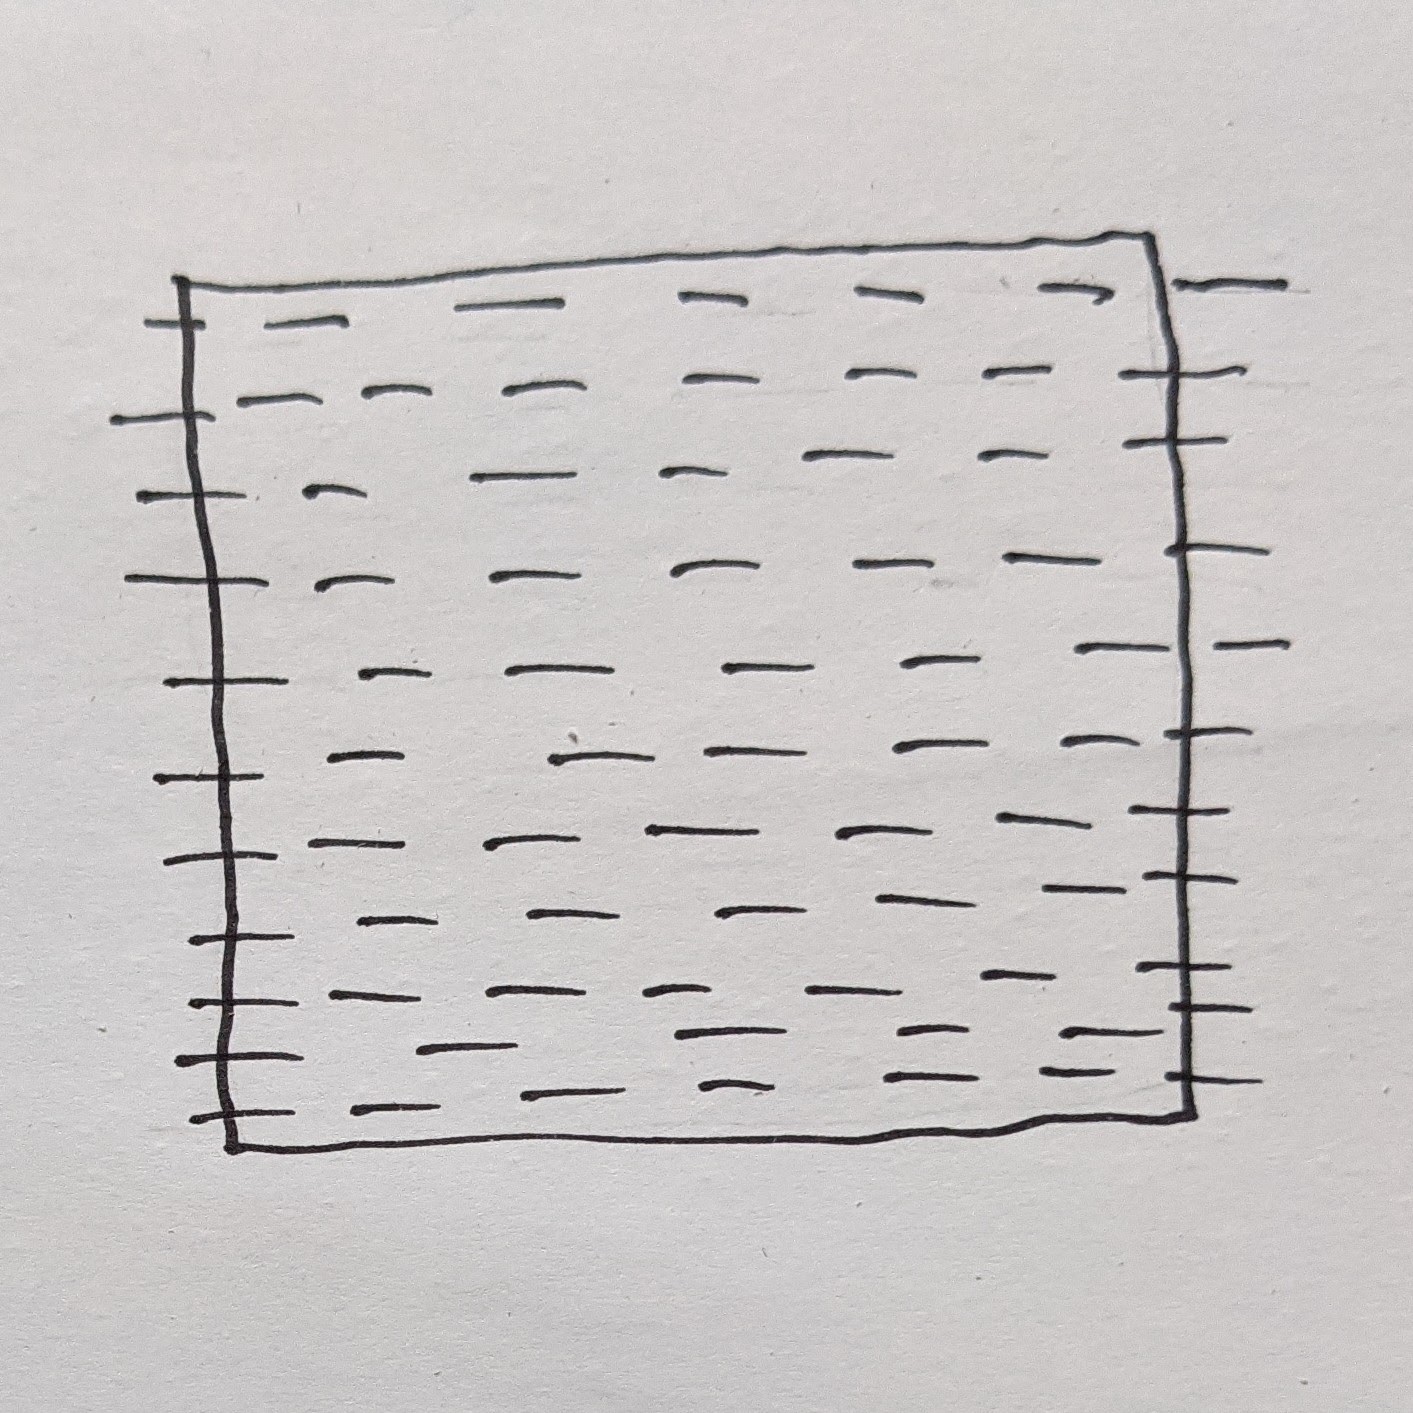
Carry on making these lines of straight stitches, known as a running stitch, over the whole area of the patch. You can stitch your rows close together or leave bigger gaps between each one. It doesn’t have to be straight, circles and ovals work well.
Before you reach the end of your length of thread, do two small stitches over each other to secure the thread and trim close to fabric or tie a knot at the back of the fabric to secure the thread.
Seed Stitch
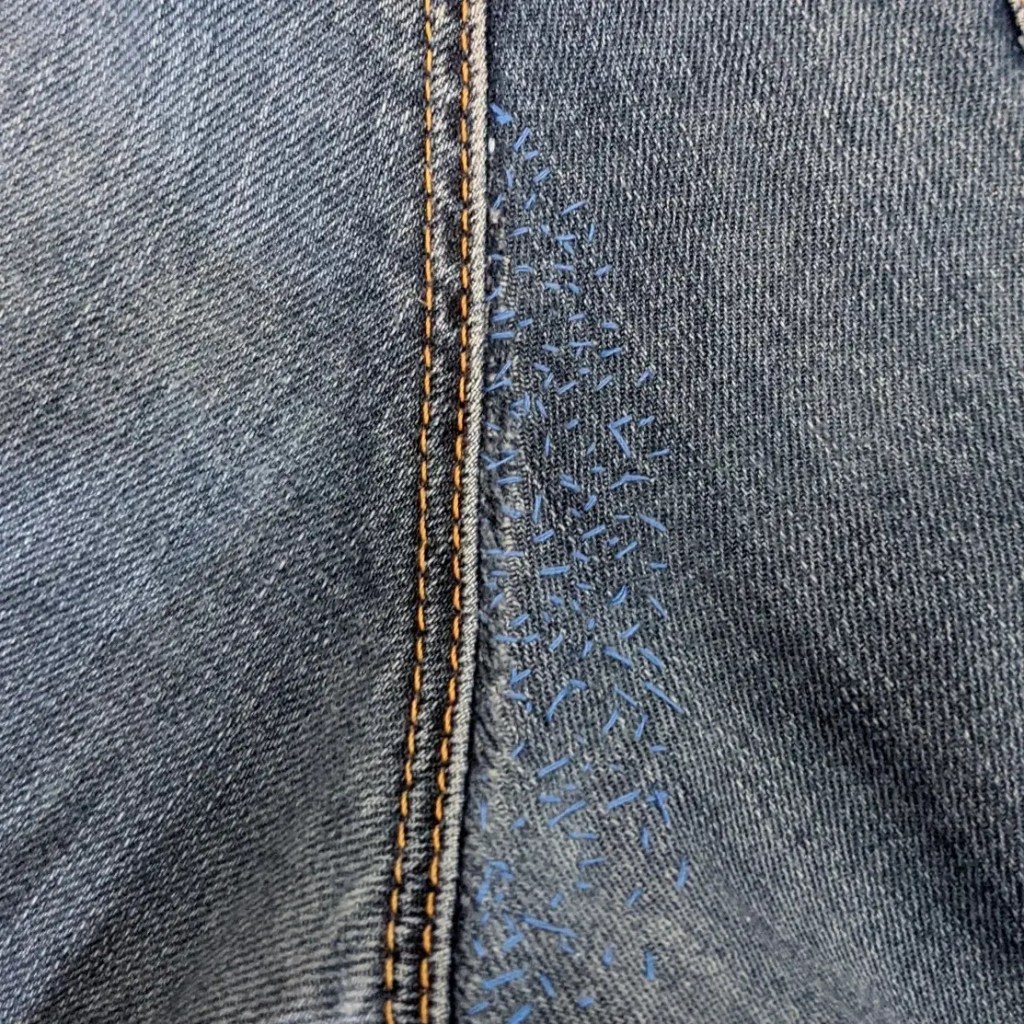
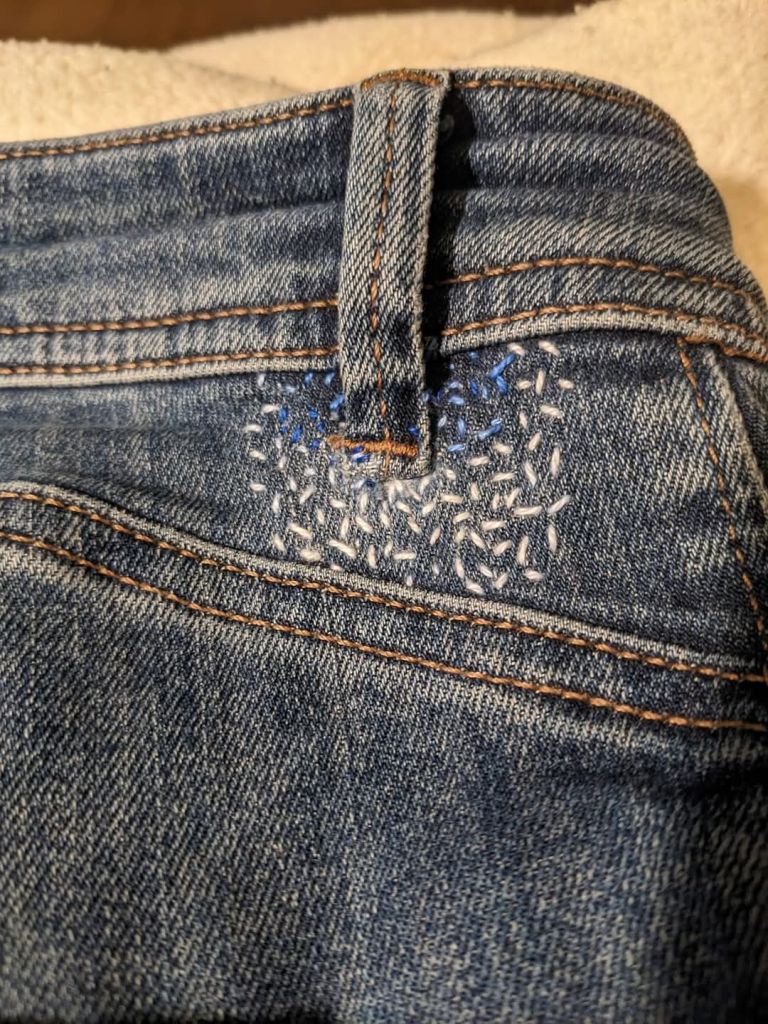
Seed stitch is a great starting stitch. Best described as random running stitch. So instead of going in straight lines like above you can go in random directions. It creates a lovely effect and gives a good strengthener to patches. The other joy is you don’t have to be very precious due to it’s random style.
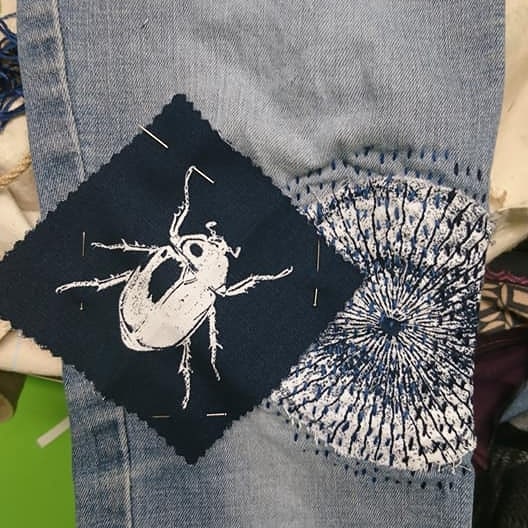
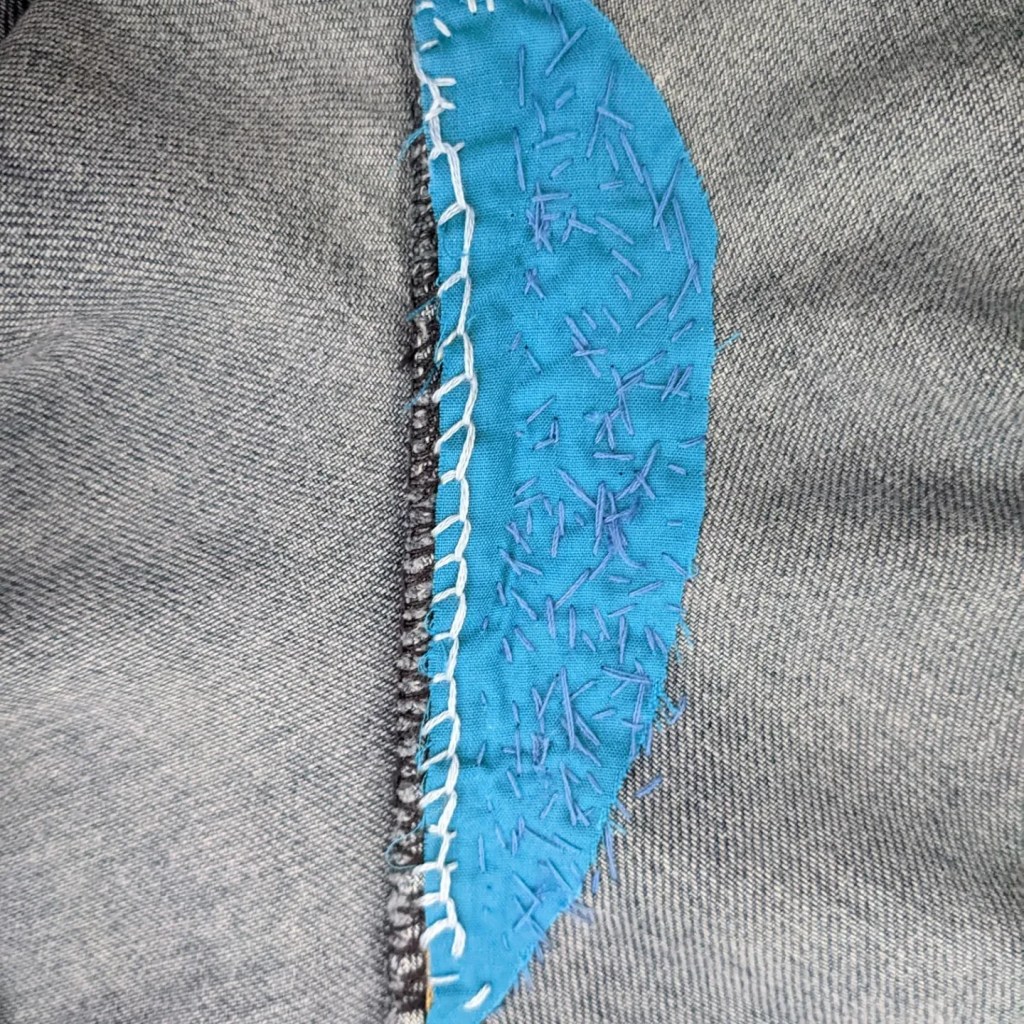
Reverse Applique framed patch
Another neat way to patch is to create a frame for the patch. We call this technique reverse applique. See this video on how to do a patch using this technique.
Patching techniques for different areas
Our Knee patching blog has great photos to show more patching techniques. Knee patching is one of the most popular mends that is asked about at our sessions.
Another popular patching is patching jeans, especially the denim wearing thin on the inside legs. Here we use a less visible mending technique, attaching the patch on the inside and then using either see stitch or running stitch.
