
Jeans are the more hard-wearing clothes in our wardrobe and designed to last. However as we do wear them a lot, jeans still need patching usually around the crotch or knees. Here’s a few examples of how we make some almost invisible and visible mends.
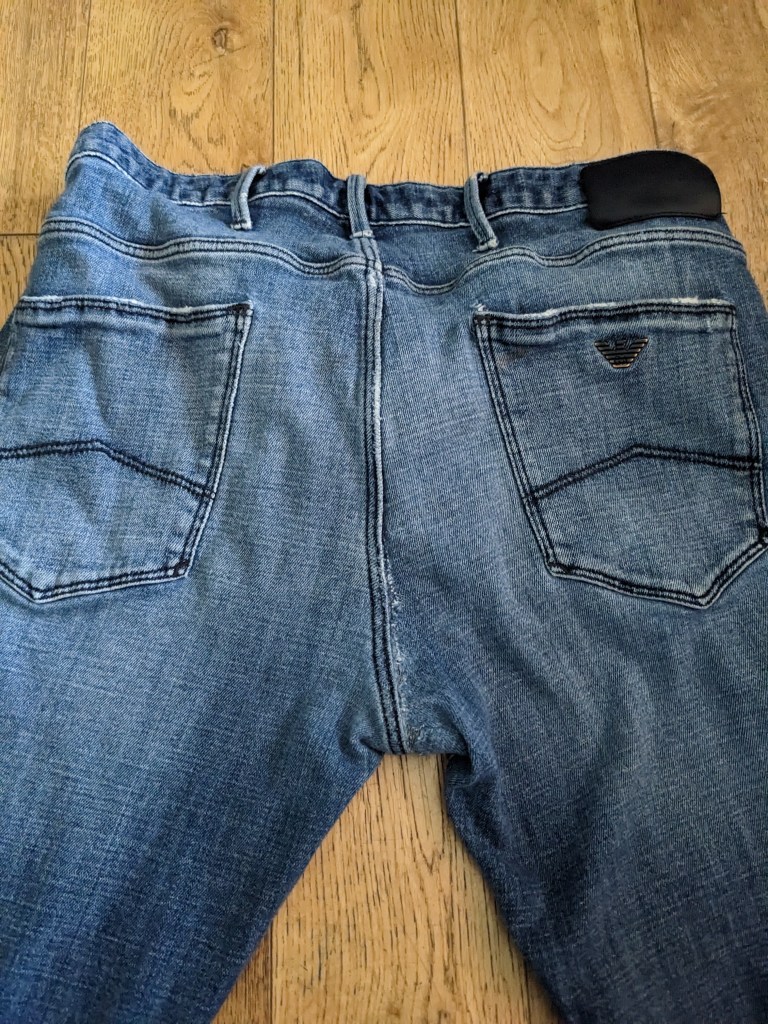
Rear end mend!
These jeans ripped on the rear along the seam.
I attached a patch of a similar stretch and colour denim on the inside with glue stick, face down so the correct side of denim shows from outside. The glue will hold the patch in place temporarily while you stitch in place.
I save the denim from jeans that are beyond repair or offcuts from jeans that have been cut down into shorts to use for patches and practice.
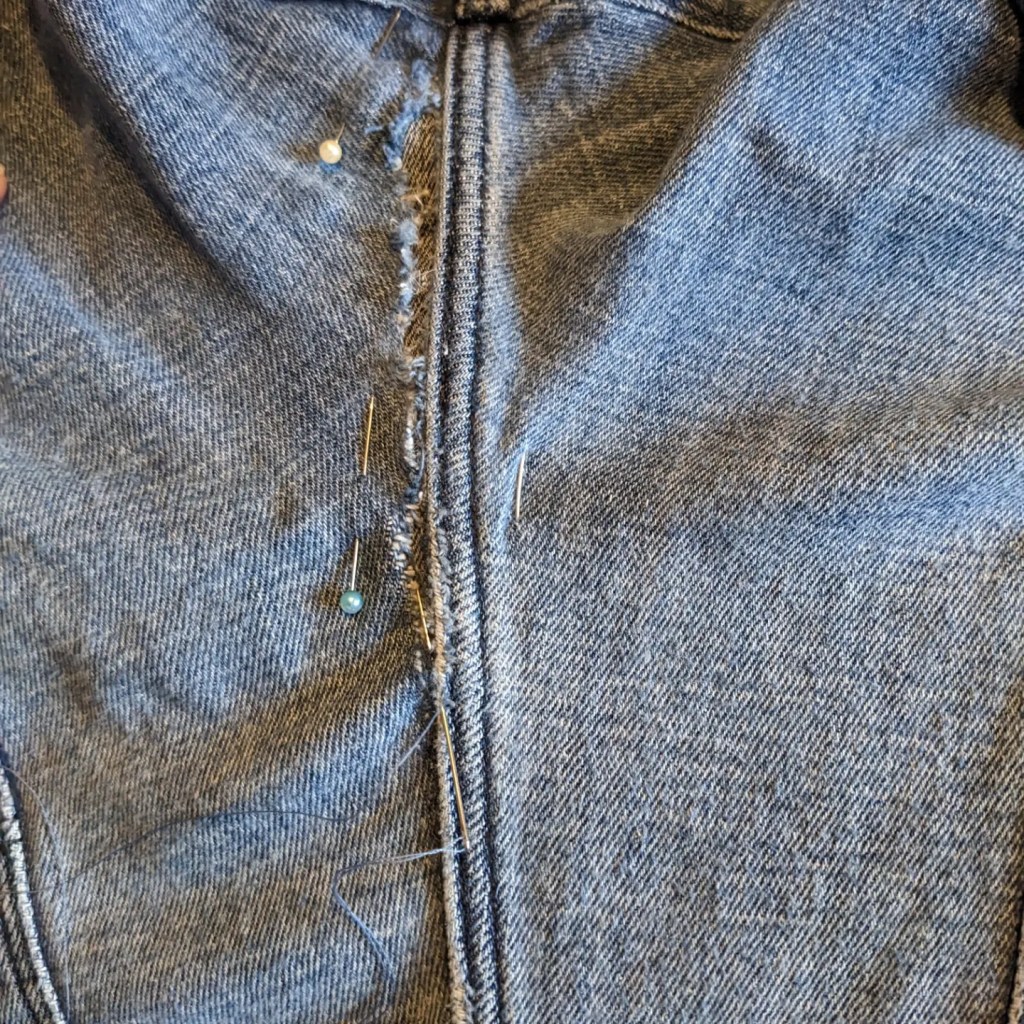
I pinned the patch also from the outside, to make sure it was held in place in correct position. Then using a similar shade of thread, I sewed seed stitch on the inside along the seam to keep patch secure. Then on the outside more seed stitch to keep the patch in place.
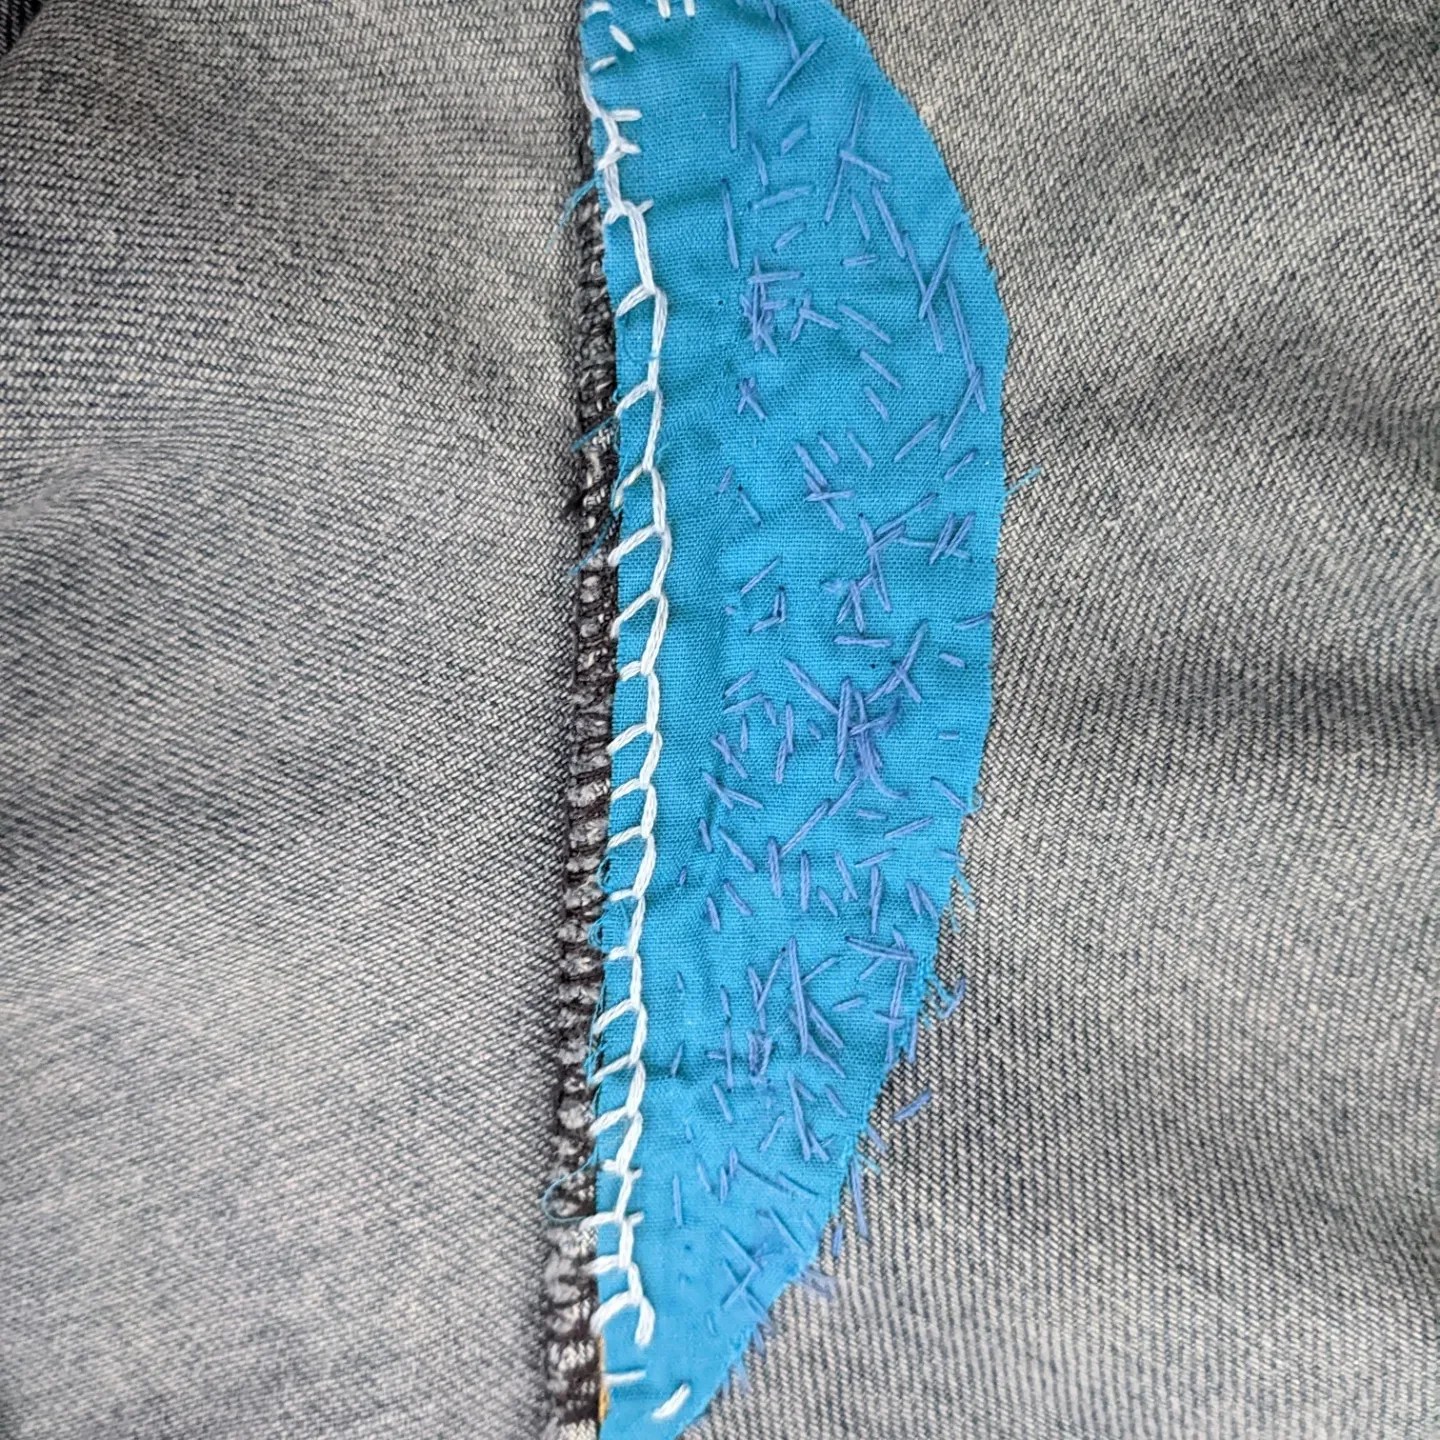
Here’s another mend using the same technique with the seed stitch which is more visible. Again the rip was along the rear seam.
Again, I attached patch from inside with a glue stick and stitch in place from the outside using seed stitch. I used a thin cotton patch with this mend to reduce risk of rubbing. With the other mend I decided to use denim as it blends in well with the jeans.
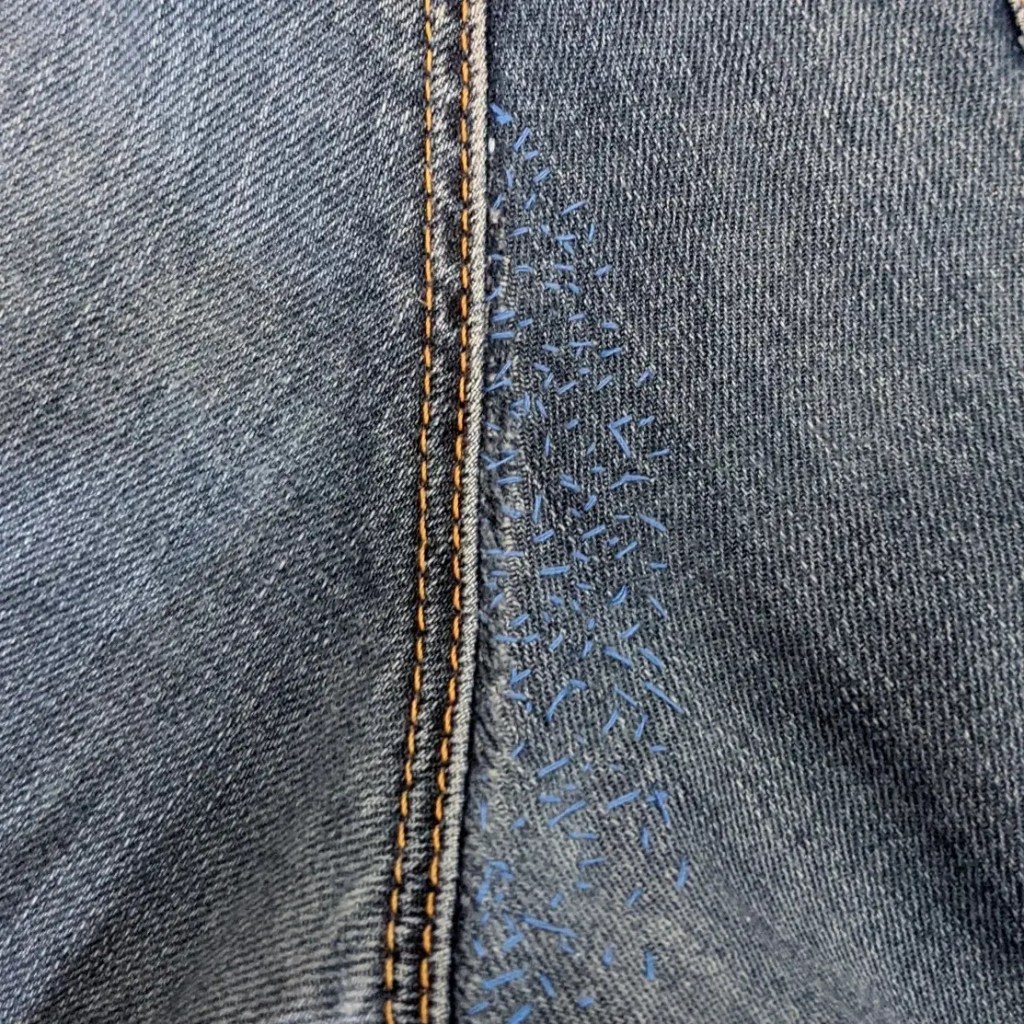
If you match the thread it can almost be invisible. One issue to keep in mind is that if the jeans are a darker colour as you wash your jeans the jeans will get lighter but not necessarily the thread.
Another area I find goes is the belt straps, these can be reinforced and sewn back in place using the same technique of a patch secured on the inside with glue and sewn both inside and outside to stay in place.

Outside pocket patches
Jeans also rip around the pockets. Both inside and outside patching can be used. The inside patching uses same technique as above.
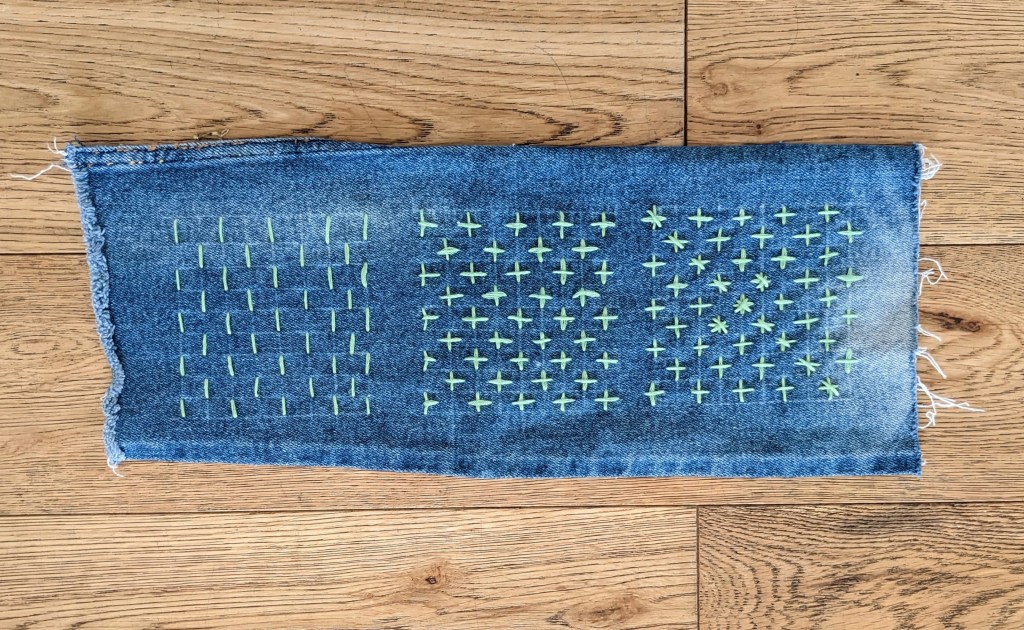
For outside patches you can use sashiko patching and stitching. For these patches I used a graduated embroidery thread. There’s usually 6 threads and we split it to use 3 threads because the thickness of the jeans. How many threads you use is dependant on the thickness and visibility you want of your stitches. The more thread you use the more likely it will be noticed.
For bottom patch, the star pattern, I drew a grid with chalk.

Then built up the stitches by first doing running stitch on the vertical, then the horizontal (so it creates crosses), then to get the stars you do the diagonals. As shown below.
Knee patch from inside
Mending around the knee area uses similar methods. You can have a bit of fun with it and make it noticeable. Choosing material with designs that peak through the hole. So far we have had monsters, birds and giraffes peak through the patches at our sessions. Here we have some bright red stretch jersey peaking through. If the jeans you are mending has some stretch it’s good to get the patch fabric with a similar amount of stretch too.
Glue the patch material with stick glue on the inside of the jeans face down so the right side of material is going to be seen from the outside.
Draw a grid to help you space out your stitches. With this patch we did crosses, first doing the horizontal running stitch in the grid and then doing the vertical so you end up with a cross pattern. With this mend we used embroidery thread. There’s usually 6 threads and we split it to use 3 threads because of the thickness of the jeans.

There’s many more possibilities on how to mend your jeans, and this is just a sample of our favorites and most popular.
Mending is of course when it comes to denim, jeanius! ![]()
![]()

2 thoughts on “Mends for Jeans”